- Home
- Request Help
- FAQ
- Accounts & Passwords
- After I Change My ONID Password
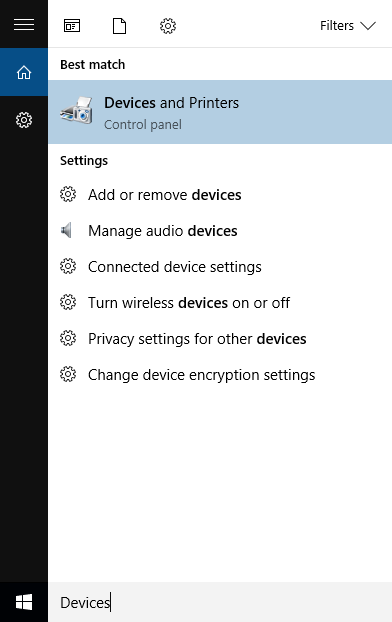
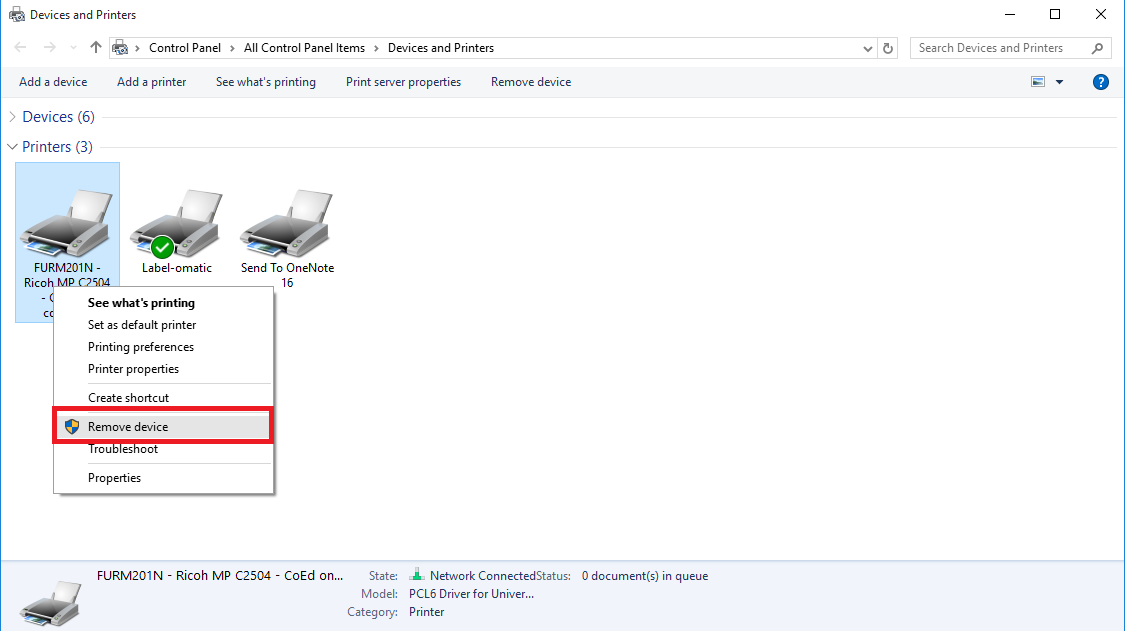
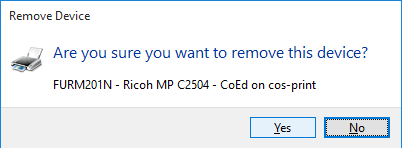
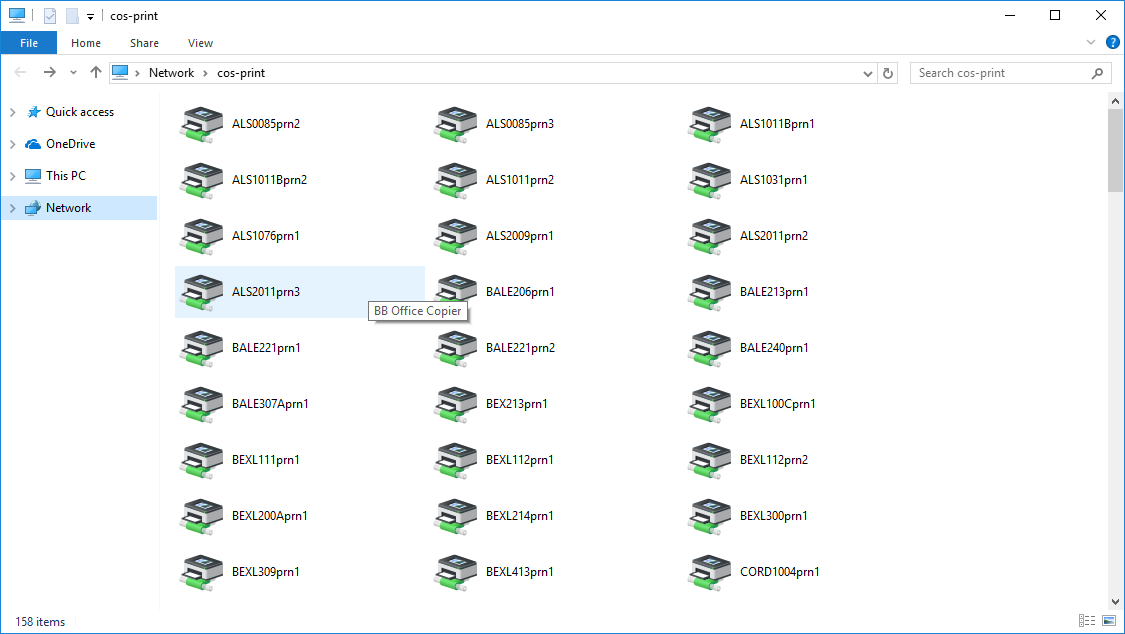
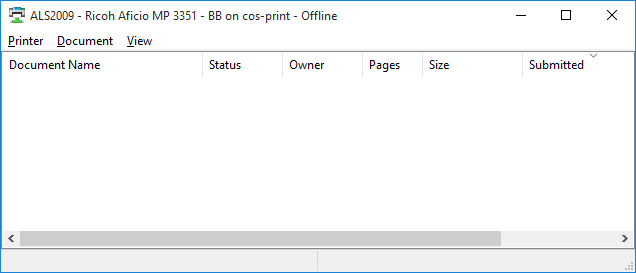
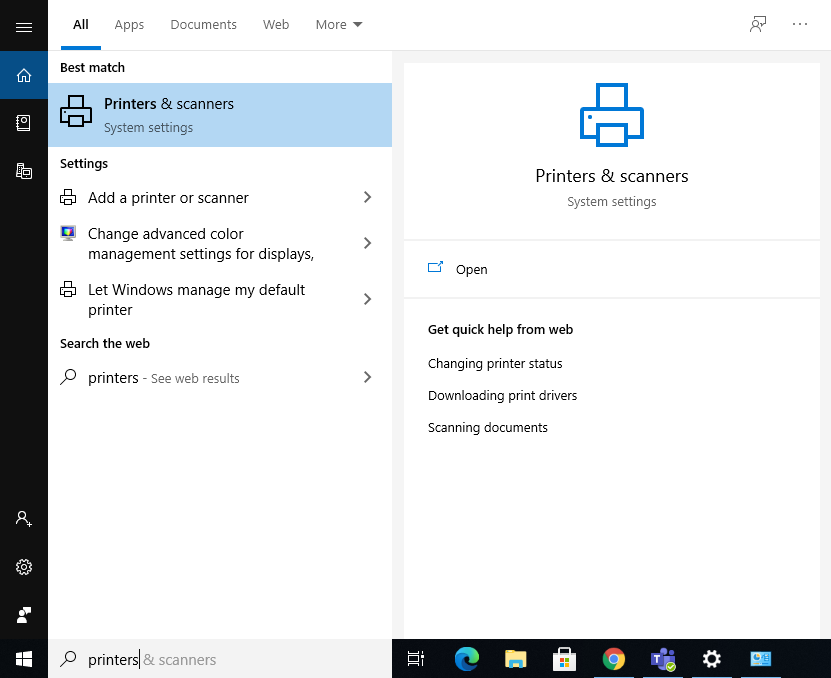
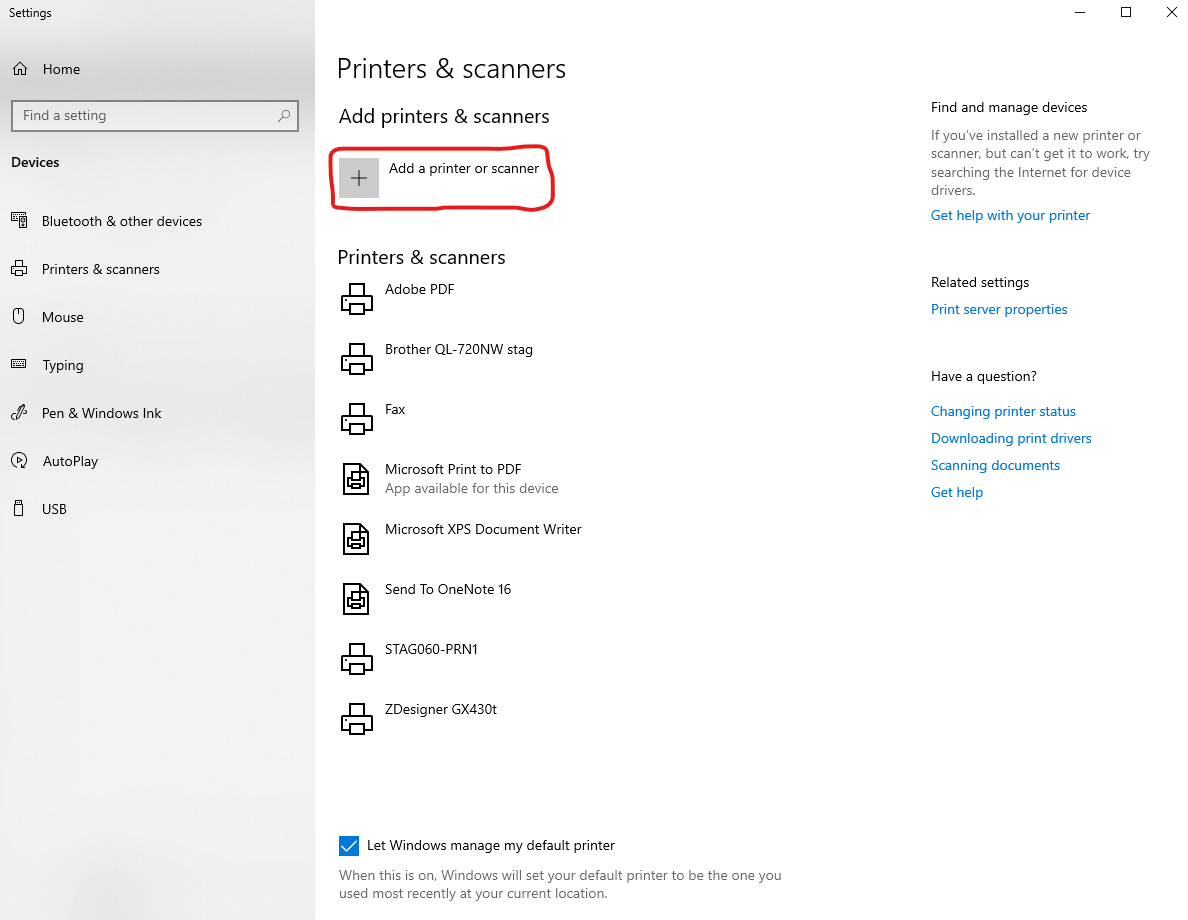
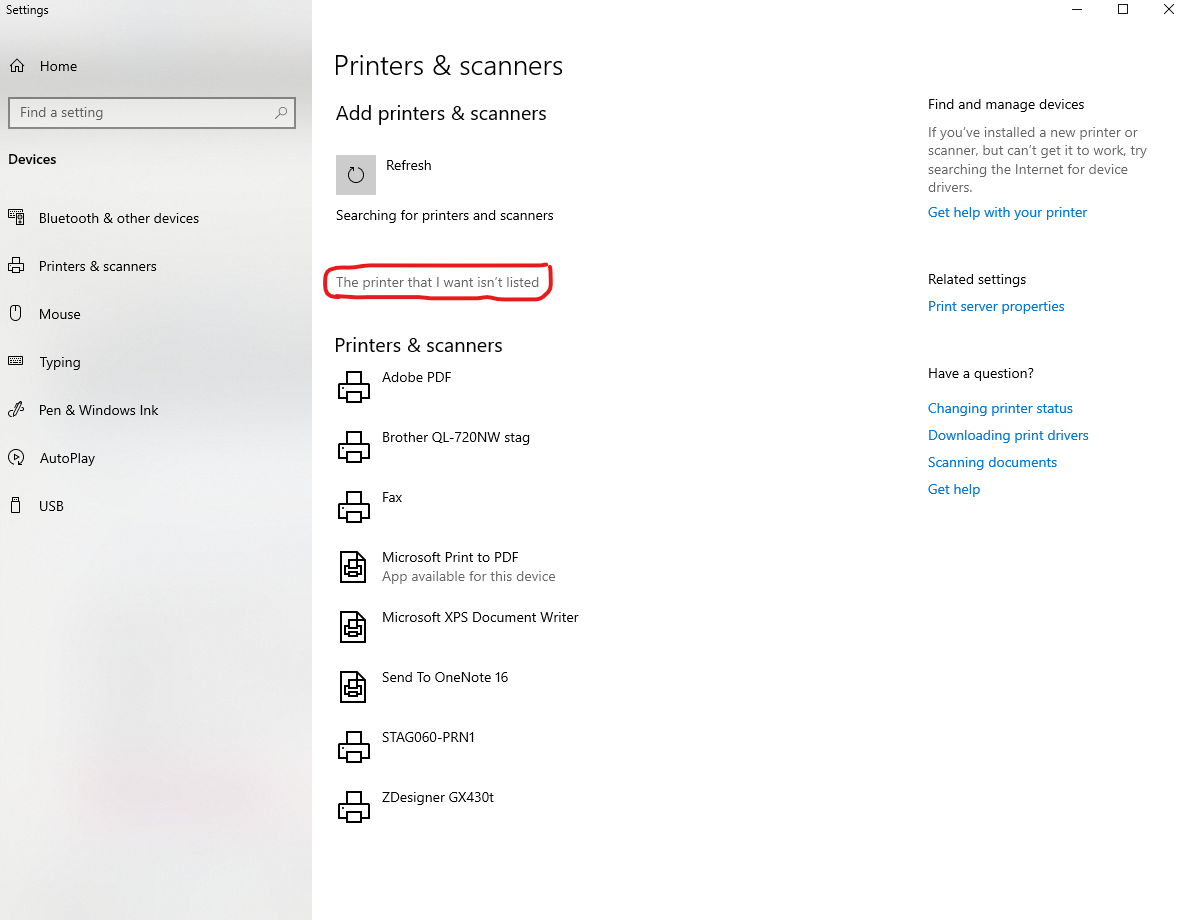
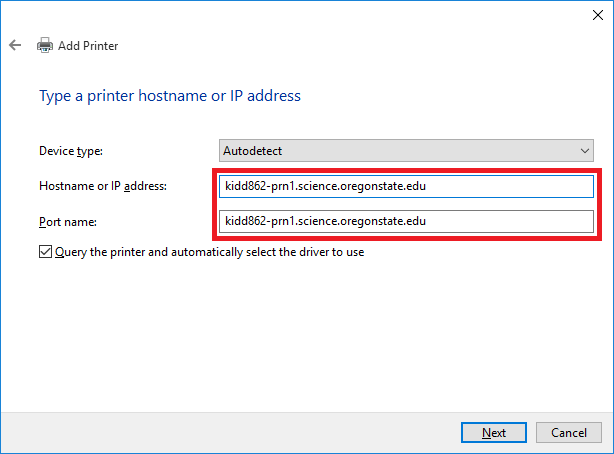
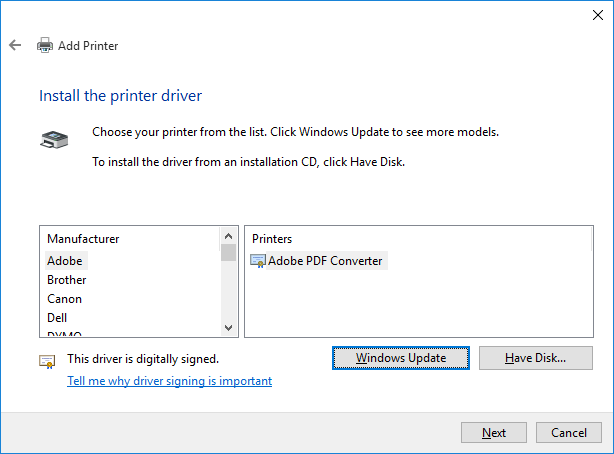
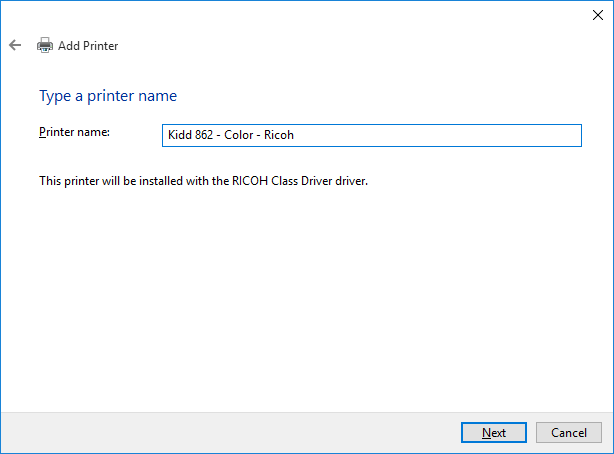
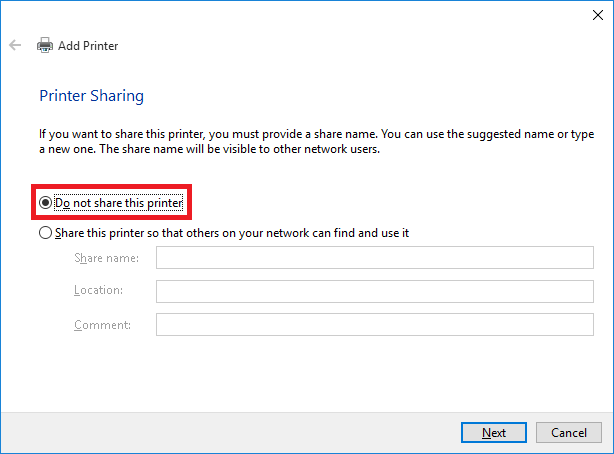
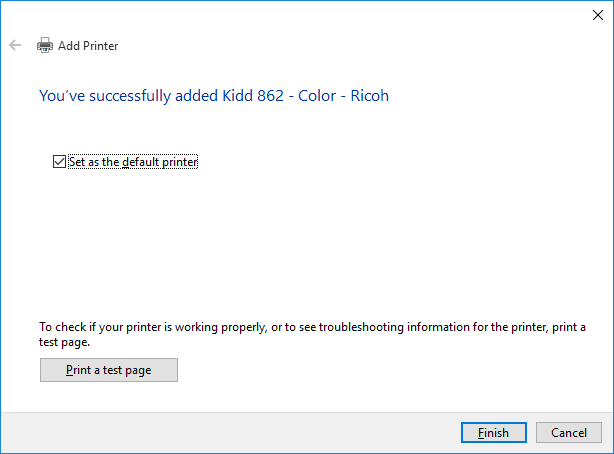
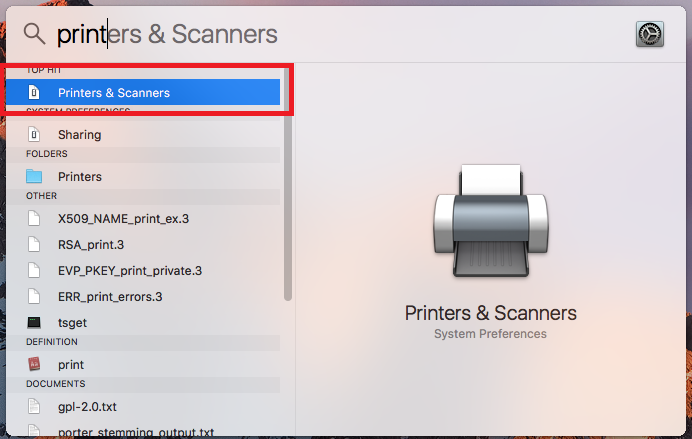
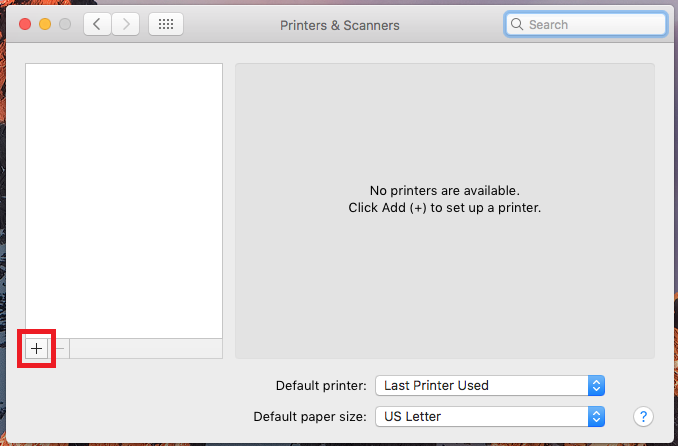
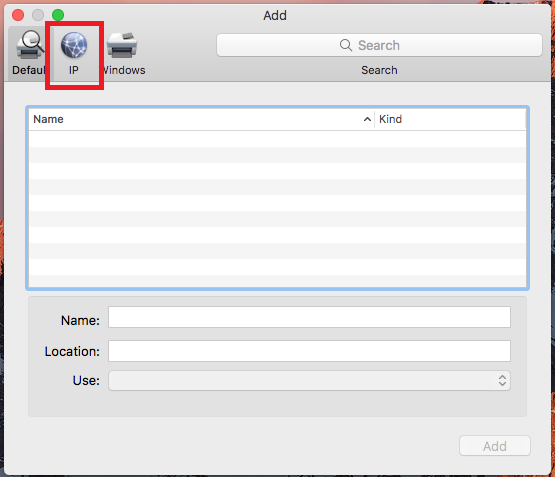
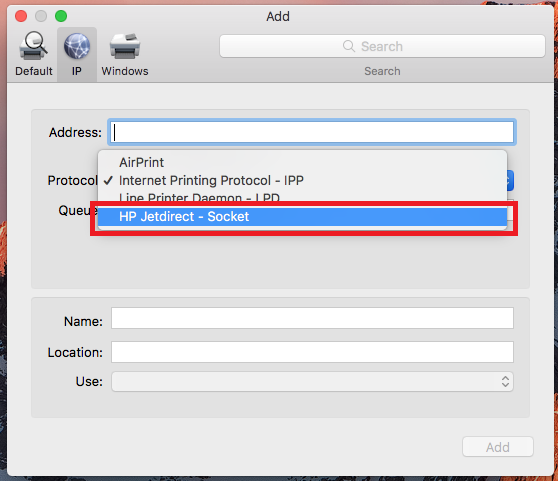
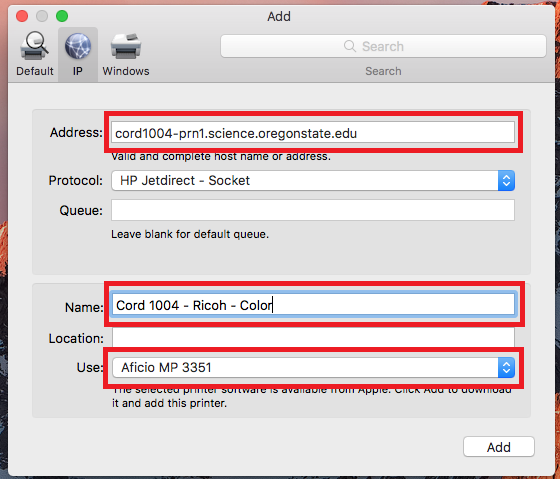
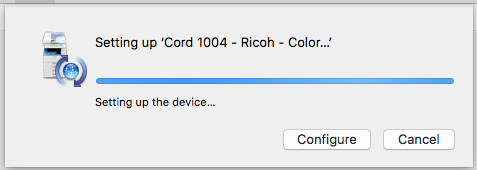
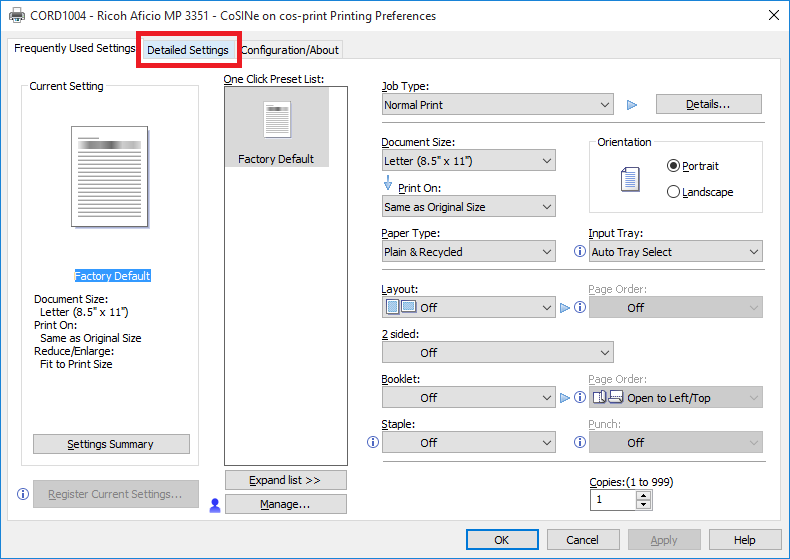
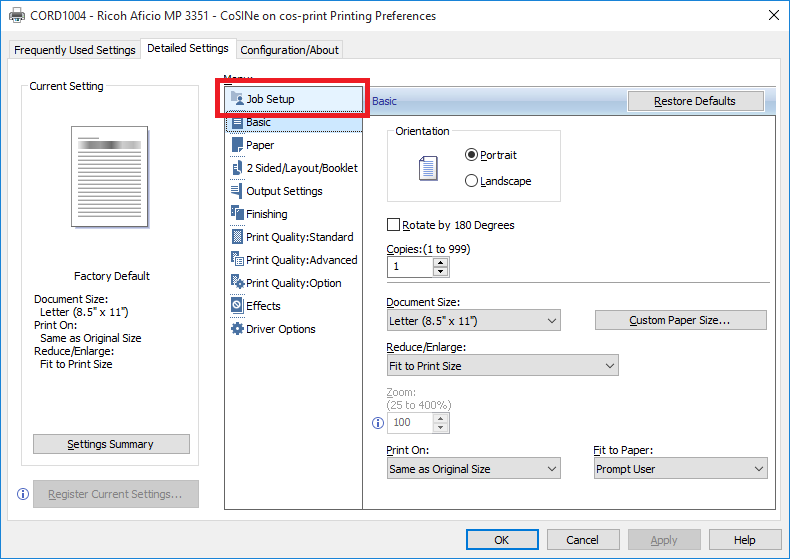
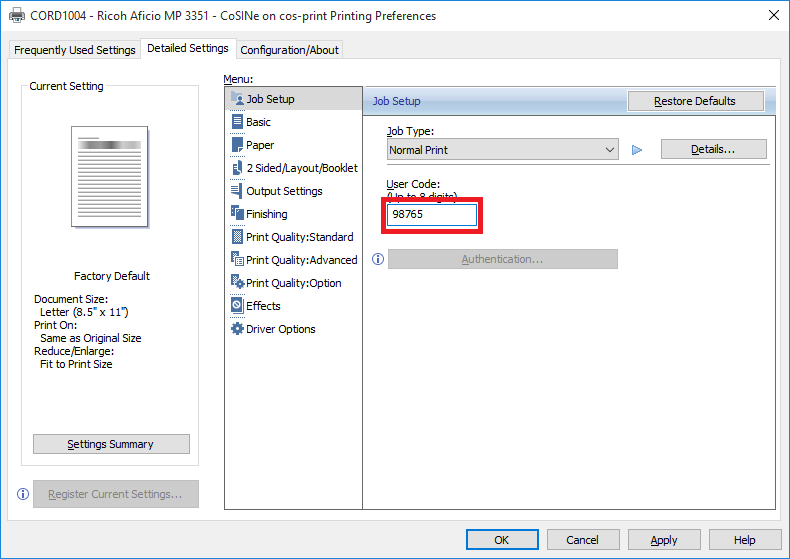
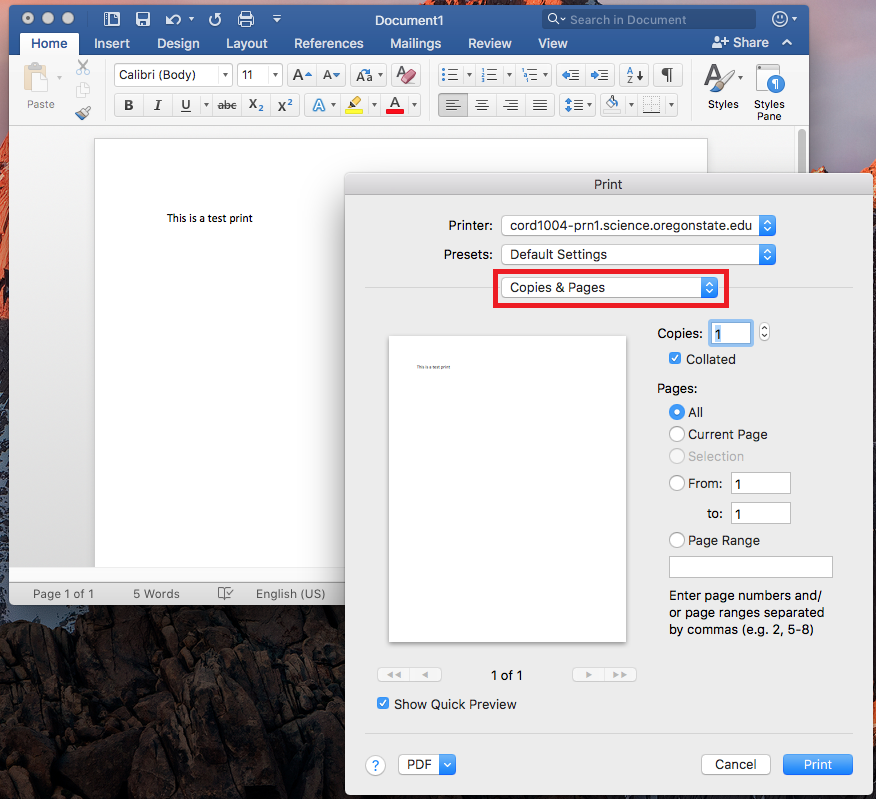
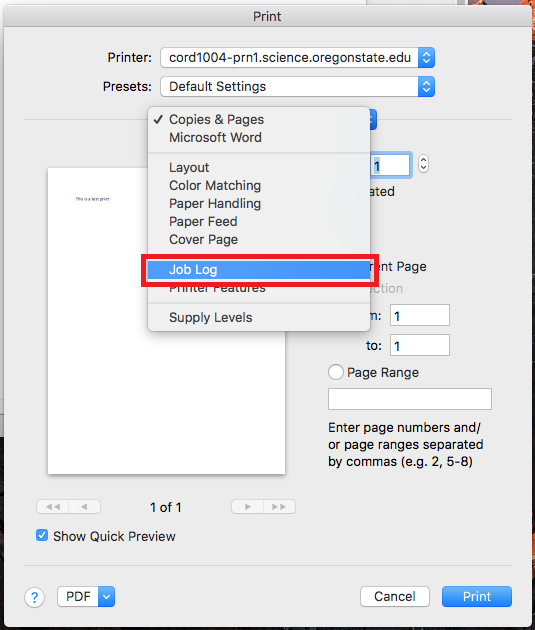
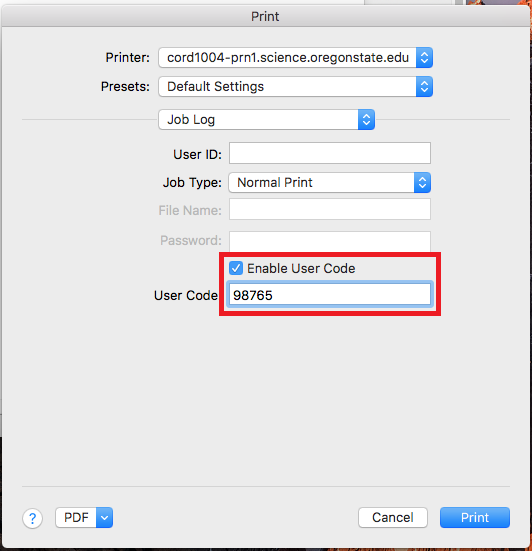
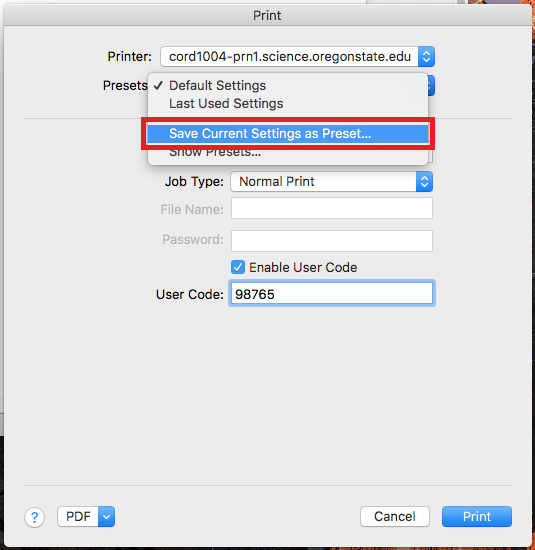
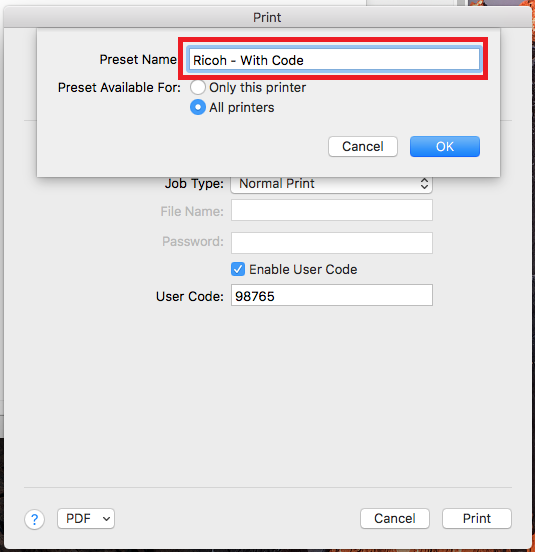
- Printing
- Cordley 3003 Computer Lab
- Data Backup & Restore
- Data Storage & Access
- Email Configuration & Setup
- New Faculty, Staff and Graduate Students
- Purchasing
- Reconfiguring Wi-Fi After an ONID Password Change
- Settling into CoSINe's Webmail Server
- Software Tools & Fixes
- Unix HPC Cluster
- VPN
- Web Cluster
- Web Services
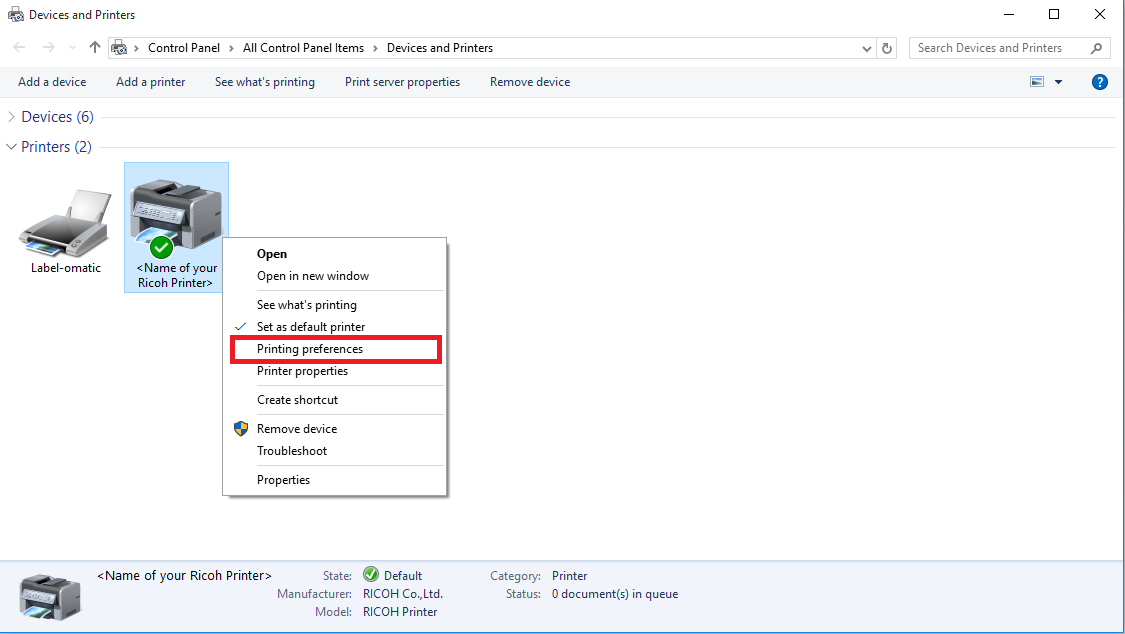
- Windows
- Wireless
- Remote Support